When I got to class there was this leaflet in with the fabric dyes. It shows you the different effects of the dyes e.g. if you wet your fabric and sprinkle on the brusho ink you get a spot star dush like effect.
This is my fabric before I dyed it.
The items you need are:
- Fabric
- Scissors
- Gloves (to stop the dye from dying your hands)
- I also had some sample pieces to do try outs with
This is one of the sample try outs I did I putted the fabric through the holes and tied it to stop the ink from touch those places.
(This is me doing samples.)
This is the green I chose we had allsorts of different colours to choose from and I chose green because I knew I either wanted to choose vegetation or insects out of our list of themes.
The blue I did a sample with this.
This is the red I used t do a sample with but as you can see here the brusho inks hadn't mixed in with the water properly so make sure its mixed it really wet.
This is another type of green I used for a sample.
Here is where I then went into Dying my proper fabric...
I decided to see what type of effect this would give.
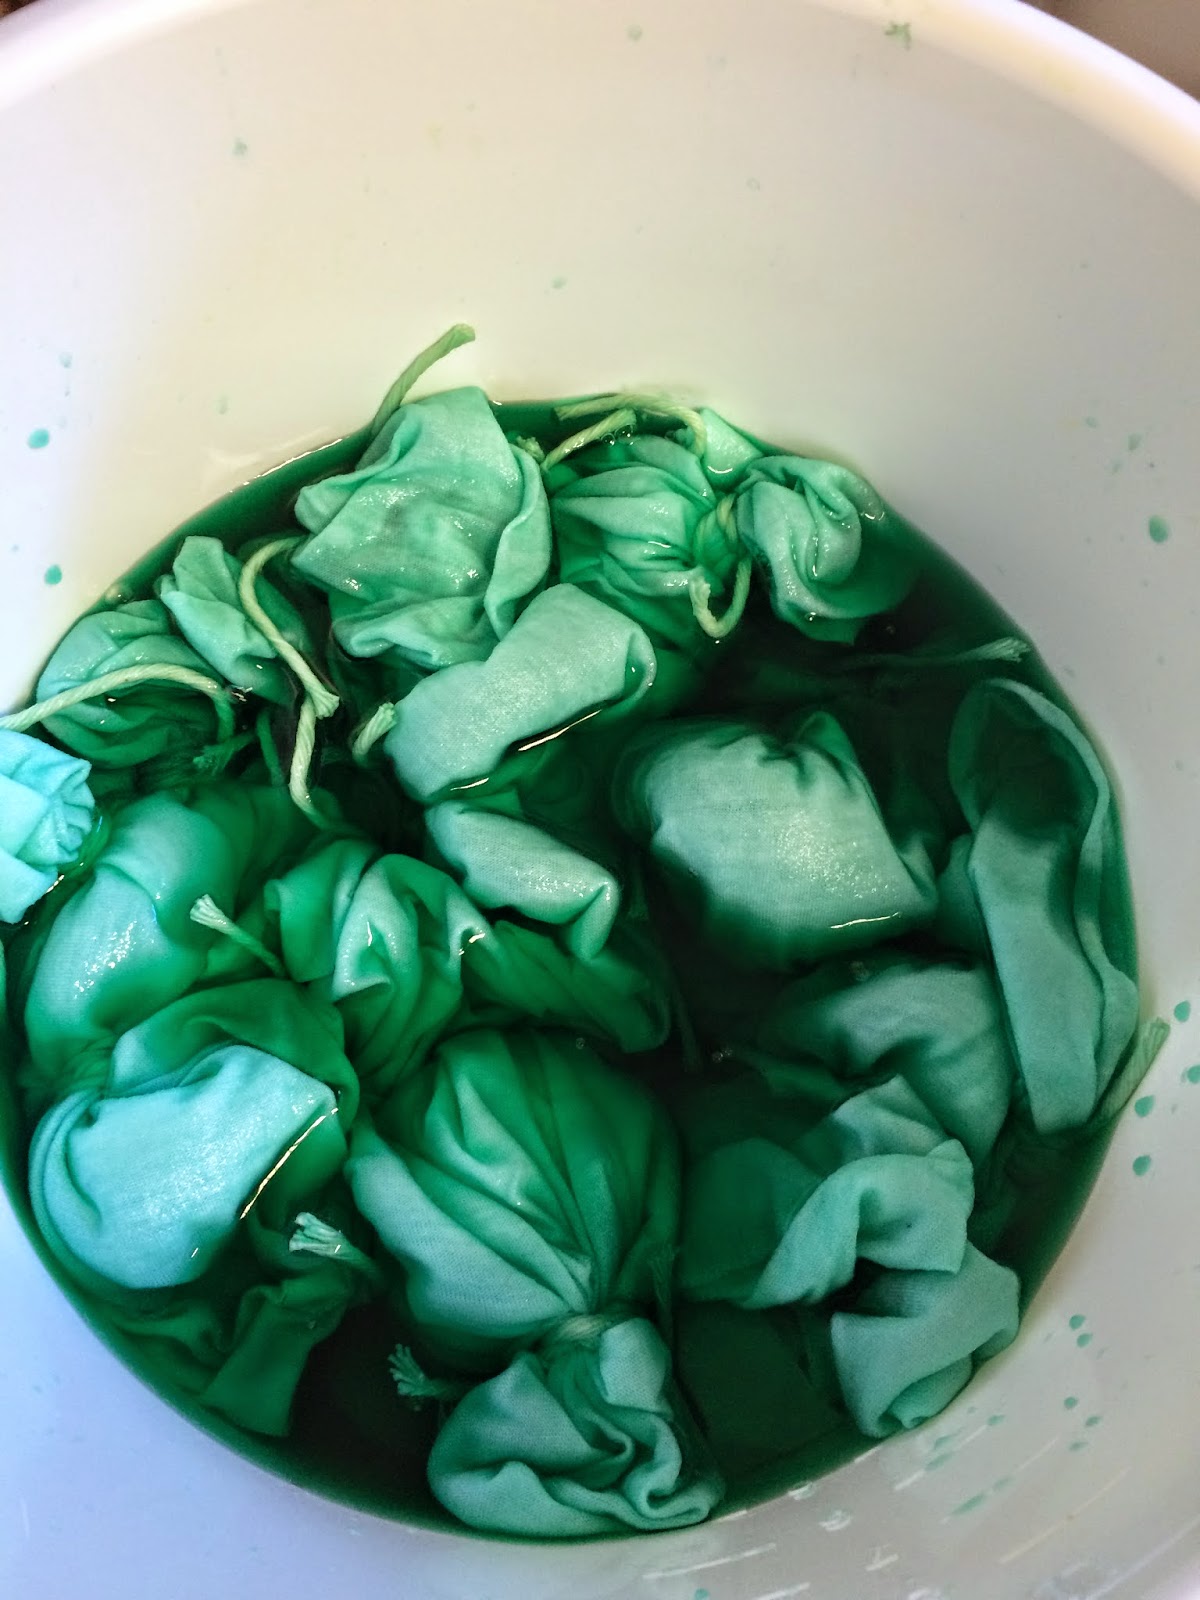
This is my fabric in the bucket soaking in the brusho inks.
This is the fabric after taking it out the bucket with dye in. I then had to cut off all the string I had tied on to give it its effect.
Half way through cutting most of the string.
My fabric dying on the washing lines we made outside the classroom.
To evaluate knowing what I know now. I would prefer to have used a darker green as I think it would have brought out the effect better.


No comments:
Post a Comment