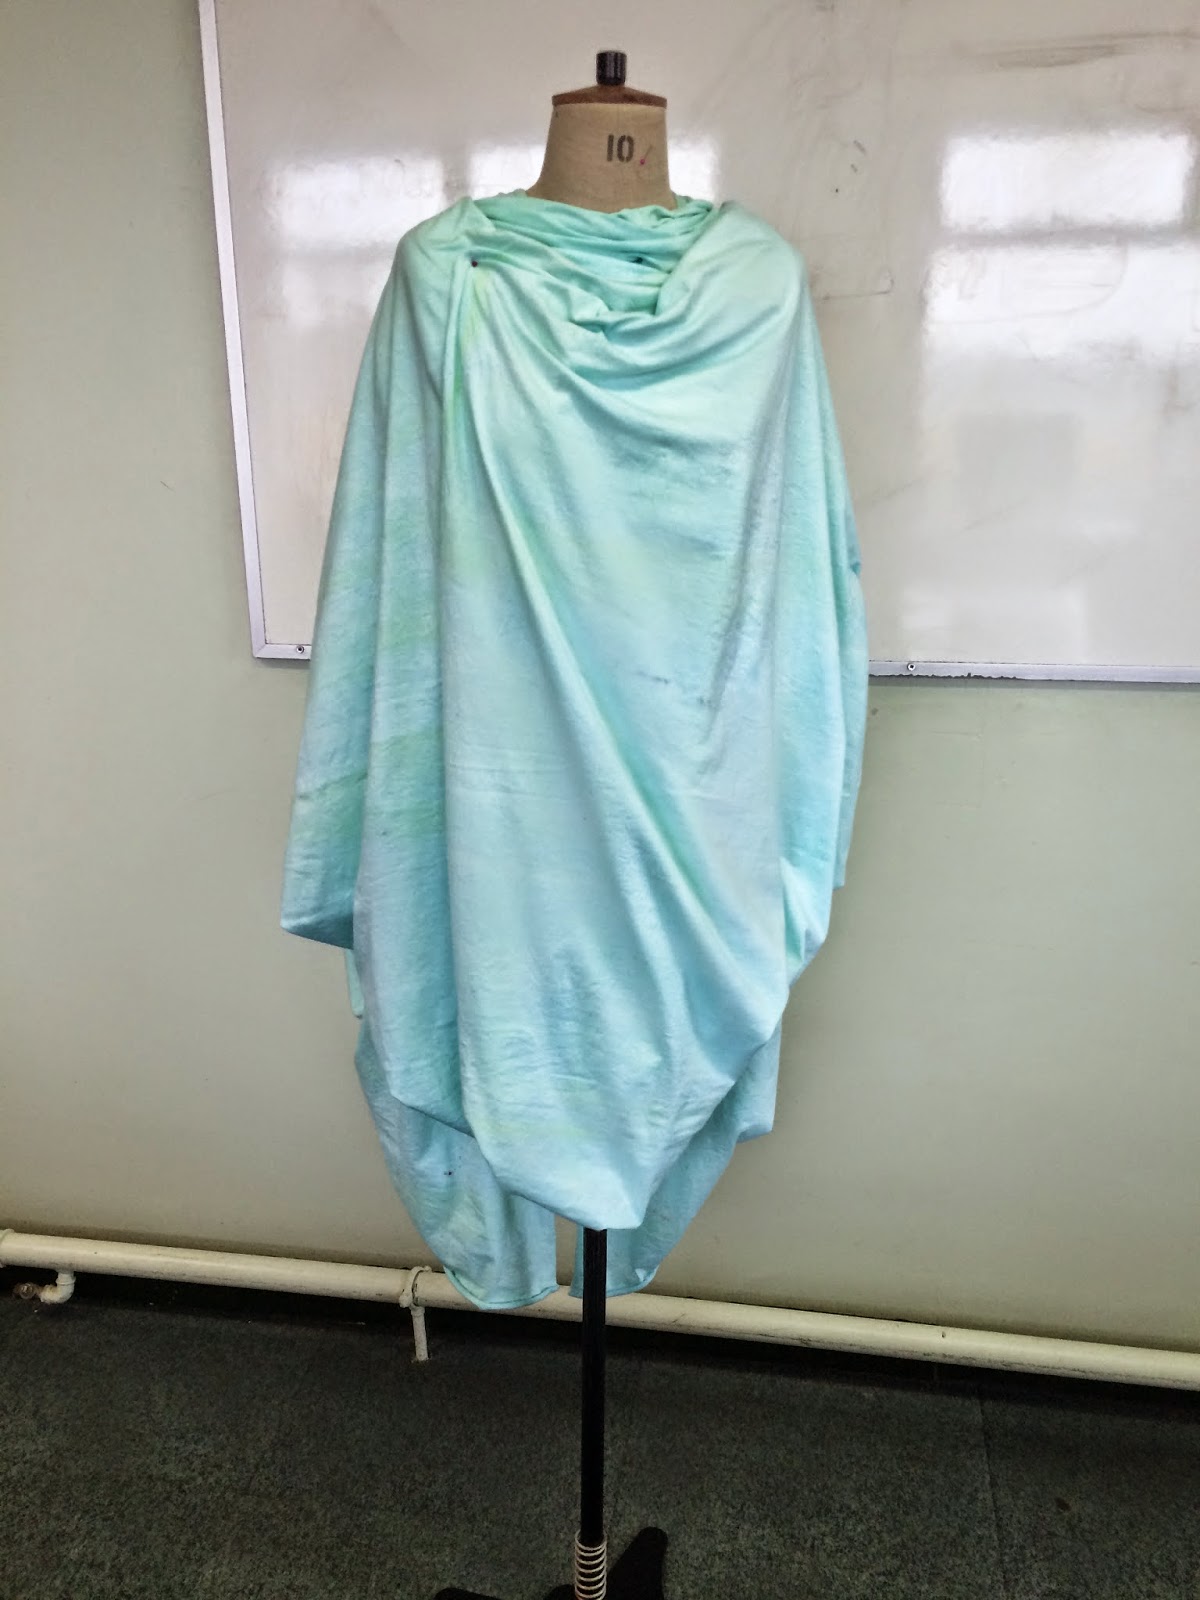
These are all the front and back's of my drape try outs at University. I have never done drape before so this scared me a bit. But by the time I finished I really liked trying out different ways to drape and creating different shapes with the fabric.
Friday, 13 February 2015
Uni Life! - Fabric Dying
When I got to class there was this leaflet in with the fabric dyes. It shows you the different effects of the dyes e.g. if you wet your fabric and sprinkle on the brusho ink you get a spot star dush like effect.
This is my fabric before I dyed it.
The items you need are:
- Fabric
- Scissors
- Gloves (to stop the dye from dying your hands)
- I also had some sample pieces to do try outs with
This is one of the sample try outs I did I putted the fabric through the holes and tied it to stop the ink from touch those places.
(This is me doing samples.)
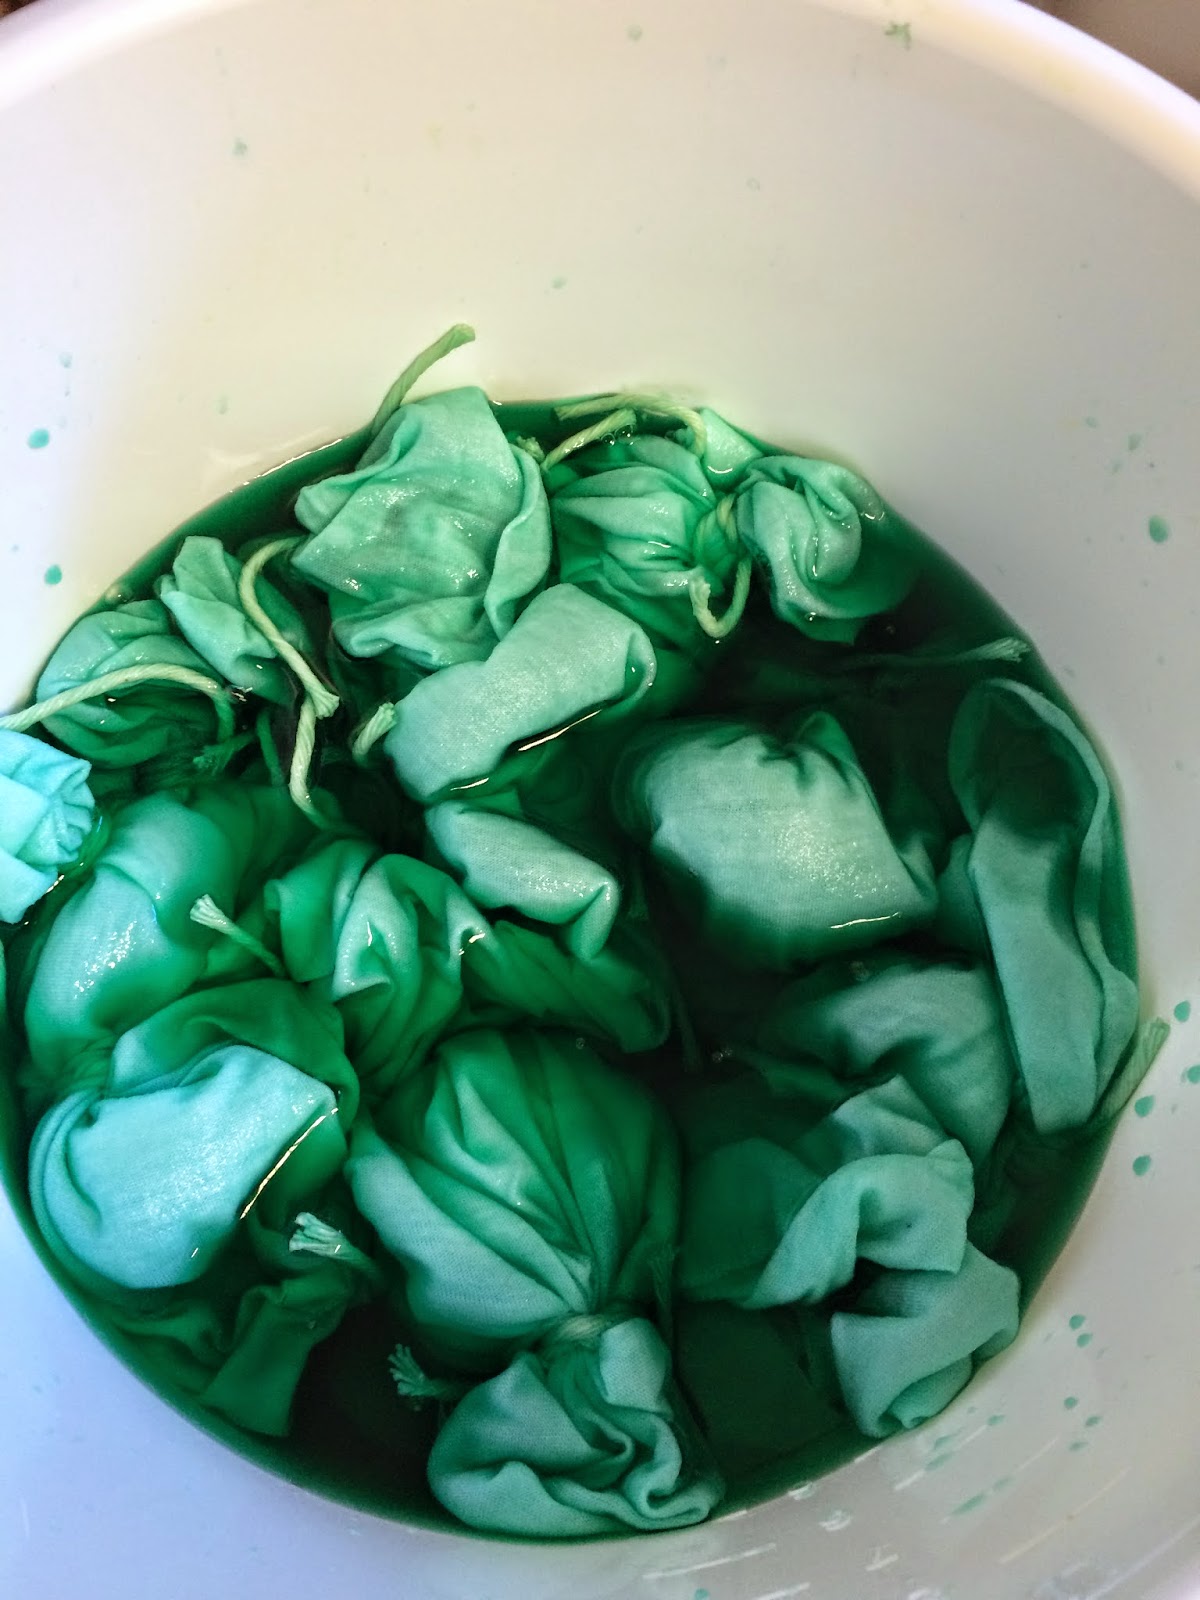
This is the green I chose we had allsorts of different colours to choose from and I chose green because I knew I either wanted to choose vegetation or insects out of our list of themes.
The blue I did a sample with this.
This is the red I used t do a sample with but as you can see here the brusho inks hadn't mixed in with the water properly so make sure its mixed it really wet.
This is another type of green I used for a sample.
Here is where I then went into Dying my proper fabric...
I decided to see what type of effect this would give.
This is my fabric in the bucket soaking in the brusho inks.
This is the fabric after taking it out the bucket with dye in. I then had to cut off all the string I had tied on to give it its effect.
Half way through cutting most of the string.
My fabric dying on the washing lines we made outside the classroom.
To evaluate knowing what I know now. I would prefer to have used a darker green as I think it would have brought out the effect better.
Saturday, 7 February 2015
Uni Life! - Calligraphy Printing
Last week at University I started my calligraphy print. This is what I did...
I used:
- PVA glue
- Thick card
- Scissors
- Brushes to brush on the glue
- different types of thickness string
As you can see below I then glued the string into the glue in a abstract honeycomb shape with lines on the edges. I put glue all over the string to keep in glued to the card properly. the technician will the put varnish all over the piece to keep it all in one place when I come to print with it.
I then started a second calligraphy print (as you can see below) and was going to do honeycomb shapes all over the card, I thought it would make a lovely print but I didn't have enough time in the print room so I just did three little ones.
This is what it looked like half way through.
This week I printed with them...
This is what I used material and paper, oil paints (I used Red, Blue and Light Blue) and a number of paint brushes...
These are the stamps after I printed with them...
These are the prints I achieved on material...
These are the prints on paper...
To Evaluate I really enjoyed doing this printing I love the effect it gives you the really nice looking distressed look. Although its really messy I love the effect it gives.
Tuesday, 3 February 2015
Uni Life! - Screen Printing
Yesterday at the Hub I screen printed. I draw a picture last and gave it to the technician at the Hub she then exposed it onto a screen for me.
This is how my screen turned out I like the hand drawn look it has and I also like how I incorporated the honeycomb shape for bee and the butterfly. I like the sharp straight lines oh the honeycomb and the butterfly wings just blend together. As you can see the is card and brown parcel tape going round the edges of my picture this is to prevent leaks on the print although I forgot to look before I started to print so the paint leaked on one of my prints.
I also mixed my own paint I went for an orange because it reminded me on the orange bee Colour. I mixed the paint myself with help from the tutor, I mixed it 50/50 paint to fabric media, the paint is to give it colour and the fabric media is to make sure that I could print screen onto fabric.
This is how one of my prints turn out I really like the faded effort. this was because the paint going through the screen had dried on it so the fresh paint was only getting through certain places and therefore giving this faded effect.
This is a more clear print (on paper).
This is the print on fabric I have decided to embroider on one or two, to show different skills can be used in different ways.
I will embroider on these in the future but for now this is what they look like.
This is a close up on the middle print, I really like the hand drawn look of the print.
To evaluate I really loved doing this printing.
I will embroider on these in the future but for now this is what they look like.
This is a close up on the middle print, I really like the hand drawn look of the print.
To evaluate I really loved doing this printing.
Sunday, 1 February 2015
Uni Life! - Manufacture
After alterations to it on the zig and waist band this was because of a previous tutor.
This is the first ever skirt I have made.
This is the first ever skirt I have made.
This is the shirt I have ever made.
I really enjoyed making these items, it was hard at times but I have a amazing tutor at university that helped me along the way and guided me in the right way.
To evaluate next time I would like take a little more time just to get everything perfect but there should also be room to improve!
Subscribe to:
Comments (Atom)


